OP
OP
- Joined
- Jun 10, 2019
- Messages
- 1,776
- Media
- 503
- Reaction score
- 1,588
- Location
- Corona Del Mar, California
- Grill
- Timberline 850
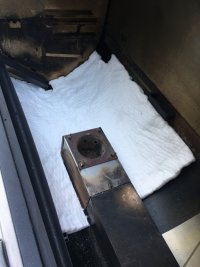
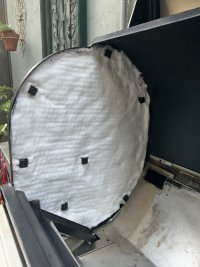
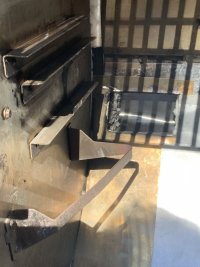
Good work! Personally, if the sidewalls could accept the 1/2 material I'd use it. I used some of the thin gasket material in my cold smoke addition and found that it becomes very brittle and crumbles, it is designed to be contained between metal plates and compressed. I ended up wrapping it up in foil then inserting it where needed. The 1/2 stuff as you know is pretty wool like, but it too shouldn't be exposed either, as grill vacuuming would damage it.
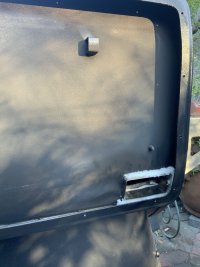
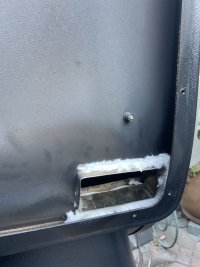
Do insulate inside of the exhaust ports, the hottest part of the grill is where the ports blow into the back box, that's where the paint takes the hit.
Do insulate inside of the exhaust ports, the hottest part of the grill is where the ports blow into the back box, that's where the paint takes the hit.