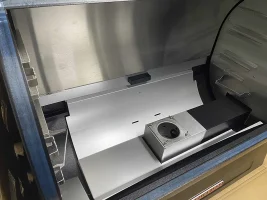
Stage 3: Insulating...
WARNING: There was a fair amount of trial and error here regarding the order in which to insulate and then 'cover' things in steel. As ReMe mentioned, N95 mask, goggles and a thick pair of gloves are necessary for all stages of the ceramic blanket handling. When cleaning up later, cold shower first to close your pores and keep any irritation from embedding further, followed by a warm/hot shower to open the pores up and then srcub any remaining fibres off...
I started by installing the insulation on the barrel ends, just to get a feel of working with the ceramic blanket material. I don't regret starting there, as it was great for learning about the material, but it put me off-track on the proper reassembly order, which later caused much grief (more about that later). So I took the endplates and simply placed them on the ceramic blanket using them as a rough template for the cut like so...
The material is EASY to cut with a razor knife, and in some cases you can literally rip it to fit. Putting it into the barrel ends was also very easy as it was very moldable as you can see here, I simply 'mashed' it onto the bolt mounting tabs, pulled it back off and then cut the holes with my razor knife:
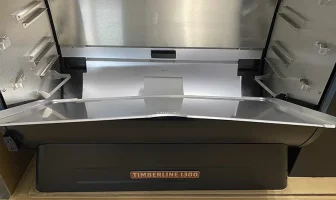
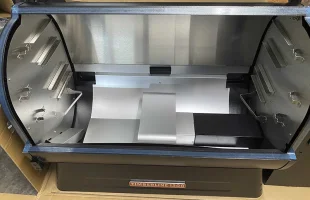
Then I just reinstalled it... Important to note, both ends hung there without any plate or clamps for almost 2 days:
As you can see in the last picture, I hadn't yet removed the bottom tray. Next up... I switch to the lid!


